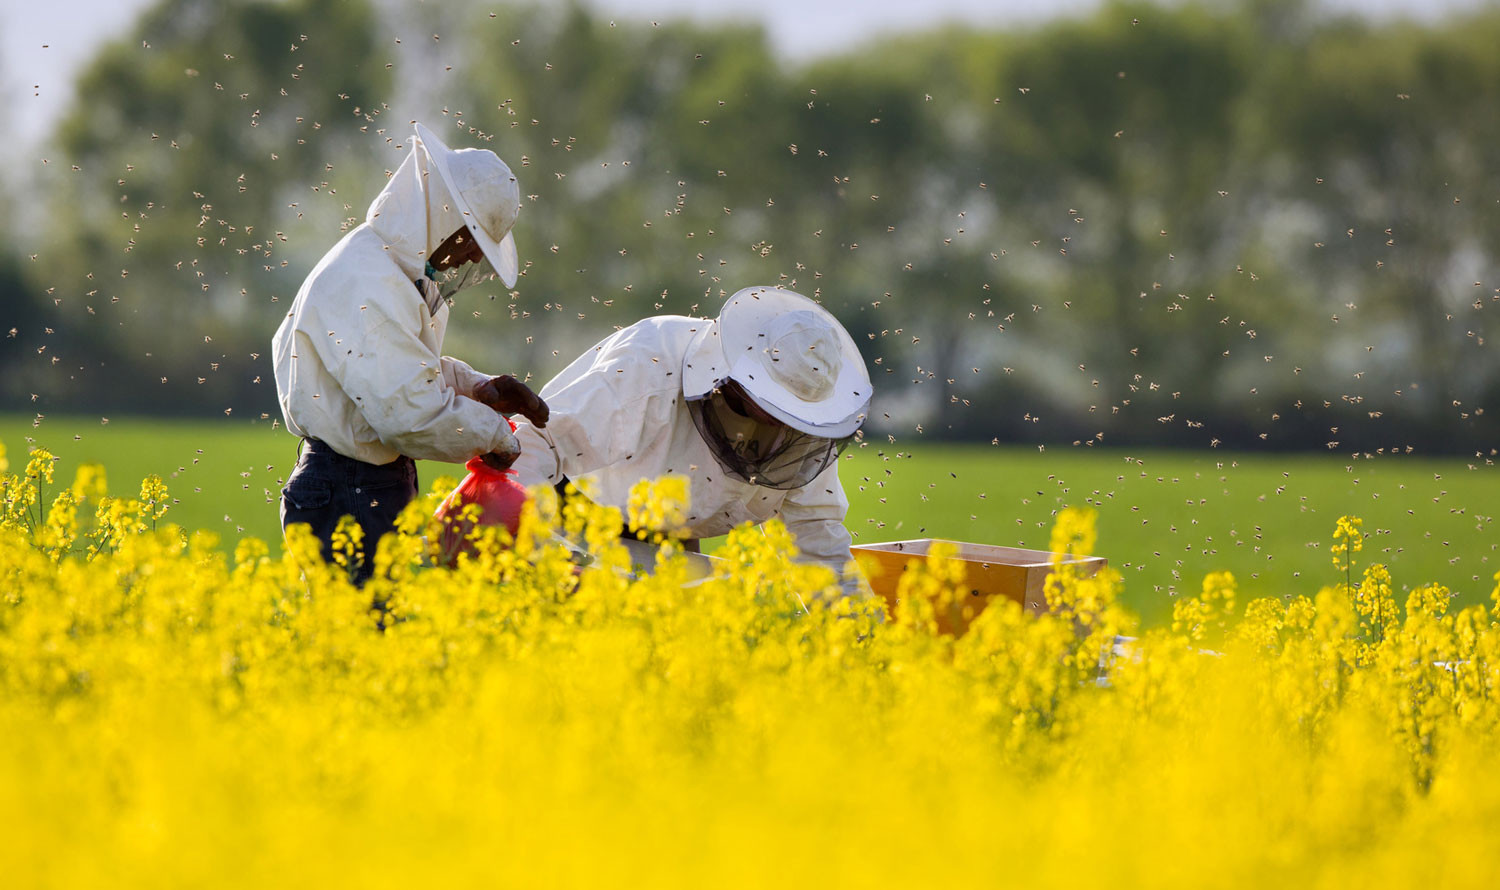


Setting up your apiary

The location of the apiary is undoubtedly the most important choice. It will determine, of course, the harvest, the amount of time you will spend with your bees, and the various savings you will be able to make.
From a legal point of view, the apiary must be placed at least 15 m from a mentioned road. Article 175 on installations states:
“No installation whatsoever and no object may be placed or established along public roads if its purpose, appearance, movement, noise or emissions are liable to hinder traffic, inconvenience passers-by or frighten horses and other draft animals. Apiaries fall within the category of the aforementioned installations.”
For the well-being of the neighbourhood (risk of stings causing fear), it is therefore preferable not to install one’s apiary near dwellings or otherwise to make contact with the neighbours without fail.
Practical advice for setting up an apiary:
- if possible, at least 200 m away from an existing apiary and in consultation with the beekeeper already installed there
- in a nectar-producing area (obviously!)
- maximum altitude 1500 m, but at this altitude winter is very long and it will be difficult to have strong colonies for the honey flow. It is better to start at a maximum altitude of 1000 m
- sheltered from the wind (a hedge may serve as protection)
- not too close to a south-facing wall, because great heat disturbs the bees
- the hives oriented (entrance), if possible, toward the rising sun
- be careful with slopes behind the hives: in winter heavy snowfall could cause them to tip over
- a water point nearby is important. It can be arranged artificially
- a place accessible by car (your back will thank you!)
- the hives must be raised at least 30 cm above the ground
- hive stands may consist of concrete bases, wooden sleepers, or metal beams capable of supporting one or more hives
- bees do not fear the cold, but they overwinter poorly in damp places
- sunshine from January onward allows bees to make cleansing flights and thus helps avoid Nosema (dysentery).
- a place not too far from the house will allow you to spend more time with your bees
- once the hives are in place, notify the bee inspector of the region, who will issue an apiary number to be displayed visibly
- each movement of a colony must be entered in the form “annual hive record sheet for bee colonies”
The necessary equipment
 For practical beekeeping, it is essential to have equipment in perfect condition and suited to the size of one’s apiary. |
Basic tools
- Smoker: it is indispensable, perhaps the most important tool for the beekeeper. It makes it possible to approach and calm the bees. The bellows smoker is the most commonly used. The fuel may be dry rotten wood, bark, pine needles, or other materials, but not materials containing glue or chemical products. The smoke must be cool, white and dense. The beekeeper’s pipe may also be used. In that case, tobacco must be used as fuel.
- Gas burner, small blowtorch: it is used to disinfect equipment (hive tool, scraper, hives, etc.) and makes it easier to light the smoker.
- Hive tool and scraper: they are used to loosen and separate frames, scrape wax and propolis, and clean varroa monitoring boards.
- Bee brush: it is used in particular to remove bees from frames at harvest time. It should be kept moist during use. It must be disinfected regularly with bleach because it can become a disease vector. Often poorly tolerated by bees, it can be replaced by a large bird feather.
Safety, protection
- Clothing: wear light-coloured clothes. Bees react less aggressively to light colours than to dark ones. Protective suits are mainly used in cases of allergy.
- Veil: it is advisable for your safety. Sometimes troublesome for vision and in hot weather, it is nevertheless imprudent not to protect the face. Stings on the nose, lips or eyelids are very painful. Buying one or two additional veils for the apiary is very practical for welcoming visitors.
- Gloves: working with bare hands is much more precise and easy; however, a pair of gloves may sometimes prove useful (for brushing bees, when they are too nervous). A repellent cream that keeps bees away from your hands also exists commercially. Latex gloves may be appreciated during the first spring inspections and in autumn in order to prevent propolis from sticking to your hands.
Hives
There are many models, all of which have advantages and weaknesses. Once the model has been chosen, it is advisable to stick to it and to own only one system. This greatly simplifies the work. Hives are also available in different materials: wood (the most widespread, the strongest, but the heaviest) – plastic (light, but not easy to clean) – polyester or expanded polystyrene (not really strong). There are also hive kits on the market to assemble yourself, and they are therefore less expensive.
|
In French-speaking Switzerland, there are six main models: a) Dadant-Blatt: the most commonly used in our region, composed of:
|
 |
b) Dadant-Type (to be avoided because it is difficult to find nuclei)
c) Langstroth
d) Layens
e) Burki-Jeker, which is particularly suitable for bee houses.
f) Warré
Additional equipment
Hive stands: Every beekeeper has his or her own little trick, but the hives must be raised at least 30 cm above the ground in order to avoid excessive moisture. They may consist of concrete bases, wooden sleepers or metal beams capable of supporting one or more hives. Avoid using panels (even thick ones), which would retain too much moisture under the hives.
Queen excluder: It prevents the queen from going up to lay in the super. Its dimensions must correspond to the chosen hive type. They are available in metal or plastic, and everyone will choose the one that suits them best. To clean it, it can be frozen and then brushed while cold.
Bee escape board: It is a simple and effective solution for clearing the supers of bees. It allows bees from the super to descend into the brood chamber, but prevents them from going back up. Place it in the evening and remove it at dawn the next day. It is important to reduce the entrances (slides) as soon as the supers are removed in order to fight robbing! There are several models on the market, some work better than others! Ask your extension instructor or an experienced beekeeper for advice in order to make the right choice.
Hive varnish: Having well-maintained hives can be a source of pride, but above all it helps fight disease. Varnishes must not contain insecticides or solvents! (The inside of hives is not varnished!)
Scale: It is a very useful observation tool for monitoring the good progress of the apiary, colony intake and/or consumption. It is a valuable aid that can help decide when to remove supers when the bees are consuming more than they are bringing in. There are scales on the market specifically for beekeeping, but those used in agriculture are perfectly suitable as well. Thanks to it, during nectar flows you will look for their origin and thus become familiar with the nature surrounding your apiary.
Water sprayers: with a capacity of about 0.5 l. One for the oxalic treatment of swarms and another with sugared water to calm a colony that is beginning to become agitated or to facilitate the capture of a swarm. Lavender or eucalyptus essence is added to the water in order to unite bees from different colonies and thus neutralize the specific odour of each colony.
Introducing queens
Queen introduction cage: A small cage protects the queen from the aggression of the bees during her introduction into the colony. The end of this cage is blocked with candy (a mixture of sugar and honey) which, once gnawed through (about 24 h), allows the new queen to be released into a colony that will by then have become accustomed to her pheromones.
Queen marking device: The plastic model with piston and foam cushion is very easy to use.
Queen marking: Depending on preference, markers, varnishes or numbered glued discs may be used.
Later (after 3-4 years of practice), one will equip oneself with the specific material for queen rearing: grafting frames with cups, grafting tool, mating nuclei, etc.
Second-hand equipment: precautions
Sanitary aspect
- Make sure, with the bee inspector of the region from which the equipment comes, that there is no disease in the seller’s apiary.
- Be careful when purchasing hives and foreign bees. Many beekeepers have ended up facing diseased colonies.
- Despite that, scorch the wood and clean the tools with bleach.
- Frames with built comb must be discarded.
- You may keep super frames if they have not contained brood.
- To disinfect a second-hand hive, you may use caustic soda with suitable body protection (gloves, glasses... !) or Virkon powder, available in some beekeeping supply shops (powerful virucide, bactericide and fungicide). It is easy to use and helps avoid sanitary problems afterwards.
Financial aspect
- Seek advice from an experienced beekeeper in order to pay the right price.
- Avoid buying material that is too old, whose strength and reliability will very quickly be put to the test.
- It is important to start with good equipment. If you are not very handy, avoid second-hand equipment. In most cases, it will require considerable restoration work!
Appearance and standards
If you already own hives: avoid buying equipment of another type (unless that is your intention or goal). Otherwise, stay within local practices (Dadant Blatt or Swiss hives for bee houses), as this makes the purchase of nuclei easier.
Legal compliance
For extraction equipment, buy only stainless steel or food-grade plastic equipment.
Occupied hives
Buying occupied hives can be a solution for a beginner beekeeper but in practice proves to be only a half-satisfactory solution. These colonies generally come from older beekeepers who no longer have the energy to monitor and change queens and frames when necessary. It is better either to:
- Start with a nucleus bought from a breeder, which will provide a good basis. A gentle and high-quality bee allows a better start in beekeeping practice.
- Be assisted by an experienced beekeeper and, if necessary, replace the queen, which will be bought from a trustworthy beekeeper, and plan rapidly for the renewal of any old combs.
- Provide an empty hive, restored and disinfected, so as to transfer the colonies quickly and thus “renew” the hives one after the other.
- We cannot force anyone to work with this or that race, but we (the bee advisors) strongly recommend that you rear Carnica. This bee is very well adapted to our climate, it is gentle, and if nature is generous, it will have a very good yield. Reserve the queens you wish to replace from a breeding instructor or an experienced beekeeper.
► see www.miel.ch